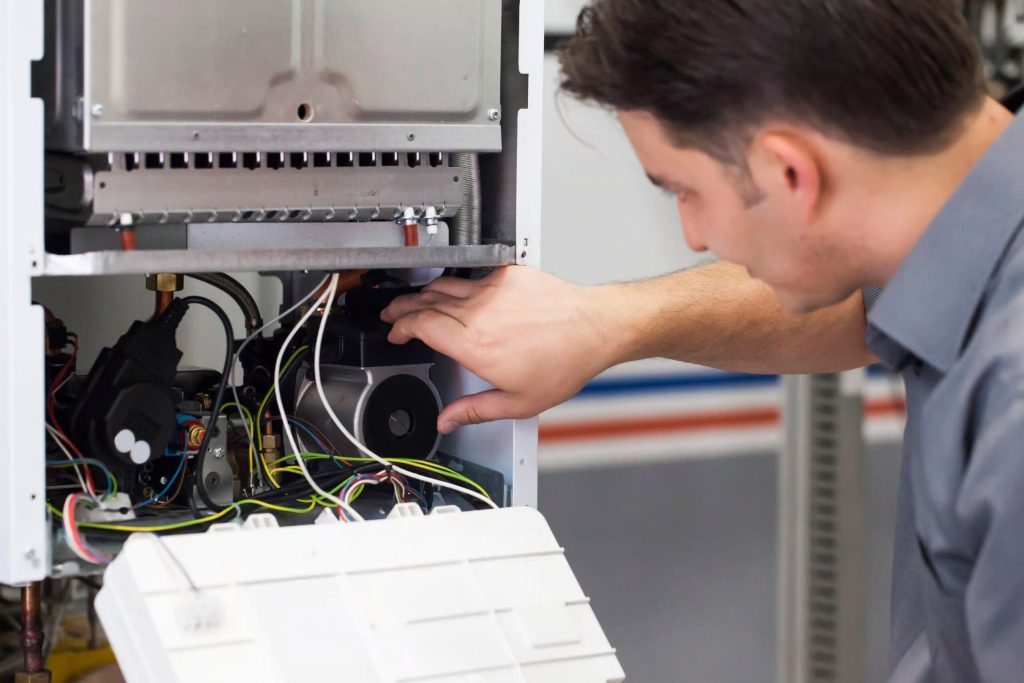
Maintaining your furnace is crucial for keeping your home warm and cozy during the cold months. Regular maintenance can help extend the life of your furnace, improve its efficiency, and save you money on energy bills. Here are some easy DIY furnace maintenance tips that you can follow to keep your furnace in top shape.
1. Safety First
Before you start any maintenance work on your furnace, it’s important to ensure your safety.
Turn Off the Power
Always turn off the power to your furnace before you begin. You can do this by switching off the breaker in your electrical panel that controls the furnace.
Shut Off the Gas Supply
If your furnace uses gas, turn off the gas supply to prevent any leaks or accidents. You can do this by locating the gas valve near the furnace and turning it to the “off” position.
2. Replace the Air Filter
One of the simplest and most important maintenance tasks is replacing the air filter.
Why Replace the Air Filter?
A clean air filter ensures that your furnace runs efficiently by allowing proper airflow. It also helps to keep the air in your home clean by trapping dust, pollen, and other particles.
How to Replace the Air Filter
- Locate the filter compartment, usually found near the blower.
- Remove the old filter.
- Insert a new filter, ensuring it’s the right size and that the arrows on the filter point in the direction of airflow.
- Replace the cover of the filter compartment.
3. Clean the Furnace
Keeping your furnace clean helps it run more efficiently and reduces the risk of malfunction.
Clean the Exterior
Use a damp cloth to wipe down the exterior of your furnace. This helps remove dust and grime that can accumulate over time.
Clean the Interior
- Remove the furnace door to access the interior components.
- Use a vacuum with a hose attachment to clean around the burners and blower.
- Be gentle to avoid damaging any parts.
4. Inspect the Thermostat
The thermostat controls the temperature in your home by signaling the furnace when to turn on and off.
Check the Settings
Ensure the thermostat is set to the correct mode (heat) and that the temperature setting is appropriate for your comfort.
Clean the Thermostat
Remove the cover and use a soft brush to gently clean any dust or debris that may have accumulated inside.
5. Check the Belts and Blower
The belts and blower are essential parts of your furnace that need to be in good condition for efficient operation.
Inspect the Belts
Look for any signs of wear, such as cracks or fraying. If the belts are damaged, replace them immediately.
Lubricate the Blower
Some older furnaces have blower motors that require lubrication. Check your furnace’s manual to see if this is necessary and use the recommended lubricant.
6. Check the Flame Sensor
The flame sensor ensures that your furnace’s burners are operating correctly.
Clean the Flame Sensor
- Turn off the power and gas supply.
- Locate the flame sensor (a thin metal rod located near the burners).
- Remove the sensor and clean it with a fine sandpaper or steel wool.
- Reinstall the sensor and restore power and gas supply.
7. Inspect the Flue Pipe
The flue pipe is responsible for venting exhaust gases from your furnace.
Check for Blockages
Make sure the flue pipe is clear of any blockages, such as debris or nests. This is important for preventing dangerous carbon monoxide buildup in your home.
Inspect for Leaks
Look for any signs of corrosion or leaks in the flue pipe. If you find any, contact a professional to have it repaired.
8. Test the System
After completing the maintenance tasks, it’s time to test your furnace to ensure everything is working correctly.
Turn On the Furnace
Restore power and gas supply to the furnace and set the thermostat to a temperature higher than the current room temperature. Listen for any unusual noises and check that warm air is being distributed through the vents.
Monitor Performance
Keep an eye on your furnace over the next few days to ensure it’s operating smoothly. If you notice any issues, it may be time to call a professional.
9. Schedule Regular Maintenance
Even with regular DIY maintenance, it’s important to have your furnace professionally inspected and serviced at least once a year.
Benefits of Professional Maintenance
A professional technician can identify and fix potential problems before they become major issues, ensuring your furnace runs efficiently and safely.
When to Schedule
The best time to schedule professional maintenance is in the fall, before the heating season begins. This ensures your furnace is ready to keep you warm all winter long.
Still Need Help?
Despite your best efforts at maintaining your furnace, sometimes professional help is necessary. If you’re in Las Vegas and find yourself needing furnace repair, Airtech is here to help. Airtech offers expert repair services to ensure your furnace is running efficiently and safely. Their trained technicians can quickly diagnose and fix any issues, providing you with peace of mind and a warm home. Don’t let a malfunctioning furnace disrupt your comfort—contact Airtech for reliable and prompt furnace repair services in Las Vegas.
By following these DIY furnace maintenance tips and knowing when to call in the professionals, you can keep your furnace running smoothly and efficiently throughout the winter season.

